
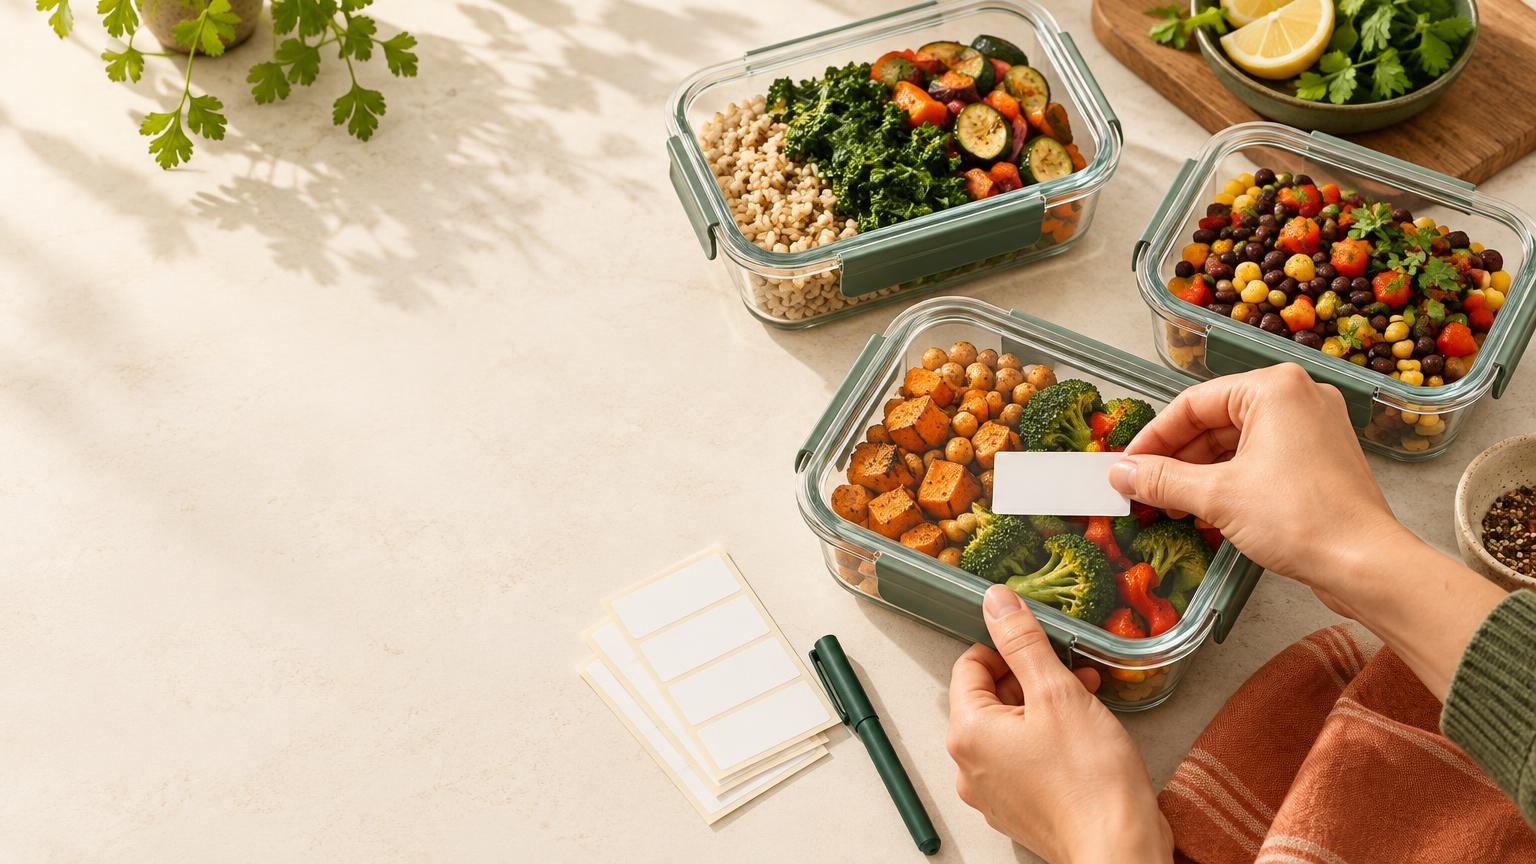
Meal Prep Labels: What to Put on Them and Which Type to Buy
Meal prep labels make it easier to identify dinner, rotate leftovers, find the right freezer container, and give household members useful reheating directions. The simplest effective label records what the food is, when it was prepared, where it belongs, and anything someone needs to know before serving it.
The best meal prep labels depend on your routine. A handwritten removable label is usually enough for changing weekly menus, while freezer batches need a material explicitly rated for freezer use. Dissolvable labels suit containers that cycle quickly through the sink or dishwasher, and custom printed labels can make recurring meals and larger batches more consistent.
Keep every label on the exterior of the lid, bag, or container rather than against the food. Remember that a date records handling information; it does not prove that food is fresh or safe. Cooling, storage temperature, time, and handling still matter.
What to put on meal prep labels
You do not need to fill a container with tiny print. Give the most visible space to the meal name and date, then add only the details that help you store or serve it correctly.
- Meal name: Use a specific name such as “black bean chili” or “tofu rice bowl,” not simply “lunch.”
- Preparation date: Record the day the food was cooked or assembled. For frozen food, adding the freeze date makes rotation easier.
- Storage status: Mark “FRIDGE” or “FREEZER” clearly. This is especially helpful when identical containers are split between the two.
- Portion information: Write “1 lunch,” “serves 2,” “2 burritos,” or another description that helps you select the right container.
- Reheating or serving note: Add a short instruction such as “eat cold,” “thaw overnight in the refrigerator,” or “stir halfway and heat to 165°F.”
Copy-ready label examples
These examples show how much information can fit on a small label. Adjust reheating directions for the portion, appliance, and container. A microwave time is a convenience estimate, not proof that every part of the food has reached a safe temperature.
- BLACK BEAN CHILI | PREP: MAR 3 | FRIDGE | 1 LUNCH | COVER, STIR HALFWAY, HEAT TO 165°F
- CHICKEN RICE BOWL | PREP: MAR 3 | FRIDGE | SERVES 1 | REMOVE COLD TOPPINGS BEFORE HEATING
- LENTIL SOUP | FROZEN: MAR 4 | FREEZER | SERVES 2 | THAW OVERNIGHT IN THE REFRIGERATOR; STIR WHILE REHEATING
- BREAKFAST BURRITOS | FROZEN: MAR 4 | FREEZER | 2 BURRITOS | REMOVE WRAP BEFORE HEATING
- TOMATO-HERB SAUCE | PREP: MAR 5 | FRIDGE | 4 PORTIONS | STIR BEFORE USING
- HUMMUS SNACK BOX | PREP: MAR 5 | FRIDGE | FOR ALEX | EAT COLD | CONTAINS SESAME
If space is limited, shorten the layout to three lines: food name, date plus storage location, and one serving note. Put detailed instructions in a household meal-planning note rather than shrinking the label until it is unreadable.
Which type of meal prep label should you buy?
Start with the conditions the label will actually face. Consider whether the container is smooth or textured, whether condensation will reach the label, whether it will enter the freezer, and whether you want the label to survive washing. The cost descriptions below are general comparisons, not current price quotes; package size, customization, material, and order volume can change the result.
| Label type | Best use | Surface and moisture | Writing method | Removal | Cost pattern |
|---|---|---|---|---|---|
| Removable paper | Short refrigerator cycles and changing menus | Best on clean, smooth, dry exteriors; limited around heavy moisture unless specified otherwise | Handwrite with the tools named by the manufacturer | Designed to peel away, but performance varies by product and surface | Usually a simple, low-commitment option |
| Freezer-rated | Soups, casseroles, sauces, and batch-cooked freezer meals | Choose a material explicitly rated for cold and condensation; follow its application directions | Depends on the coating; verify pen, printer, or permanent-marker compatibility | Varies from removable to permanent | Often costs more than basic paper |
| Dissolvable | High-turnover containers where quick wash-off matters | Designed to break down during washing; check the exact product for freezer and dishwasher claims | Handwritten or printable, according to product specifications | Dissolves during washing when used as directed | Convenience may justify a higher per-label cost |
| Durable custom printed | Recurring meals, standard fields, shared prep, and larger batches | Choose the material for expected moisture and washing; do not assume freezer suitability | Printed design; leave a blank writable area only when the material supports the intended pen or marker | May use permanent adhesive unless a removable option is specified | Price varies with material, size, design, and quantity |
Removable labels for flexible weekly menus
Removable handwritten labels are a practical default when the meal changes every week and containers stay in the refrigerator. They require little setup, and you can write only the information that matters for that batch.
Product details still matter. Avery, for example, describes one removable paper-label product as suitable for smooth, flat surfaces and compatible with ballpoint pens, pencils, and markers. That specification applies to the identified product, not every removable label. Test a new label on one container if you are concerned about residue or damage.
Freezer-rated labels for batch cooking
Do not assume that any waterproof sticker is suitable for a freezer. Low temperatures, frost, condensation, and surface changes can affect adhesion. Look for an explicit freezer-use statement for the exact material. Avery identifies several specific film materials for freezer use, illustrating why the material name matters more than a generic “label” description.
Check whether the label must be applied before the container becomes cold, what writing tool works on its surface, and whether it is meant to remain permanent. If you reuse containers, removal requirements may be as important as freezer performance.
Dissolvable labels for fast container turnover
Dissolvable labels can reduce scraping when containers move repeatedly from refrigerator to sink. Product capabilities are specific: Avery states that its dissolvable label line washes away without residue and is freezer-safe, microwave-safe, and suitable for hand or dishwasher washing. It also describes the labels as laser- and inkjet-printable and the adhesive as compliant for indirect food contact. Keeping labels on the container exterior remains the clearest home practice.
Do not transfer those claims to an unverified dissolvable label. Check whether a product suits your printer, storage conditions, wash method, and container surface before buying a large package.
Custom printed labels for recurring systems
Custom printing becomes useful when you prepare the same meals repeatedly, want consistent fields, divide work among several people, or label larger batches. A printed layout might include fixed spaces for “meal,” “prepared,” “fridge/freezer,” “portion,” and “reheat,” leaving only the changing information to be handwritten.
Readers considering a repeatable printed format can browse CustomStickers for custom label and packaging options. The company says its standard custom stickers are waterproof, dishwasher-safe, and microwave-safe, and its FAQ says custom stickers have no minimum order quantity. Those statements do not establish freezer suitability, clean removal, food-contact suitability, or marker compatibility. Confirm the exact material and adhesive for those needs before ordering.
Handwritten labels remain the better choice when your meals change constantly or you use only a few containers. Custom printing earns its place when a stable layout saves time or reduces confusion—not merely because it looks more polished.
A five-minute weekly labeling routine
- Set out the empty containers, lids, labels, and pen before portioning. Apply labels to clean, dry exterior surfaces unless the product directs otherwise.
- Write the meal name and preparation date as each container is filled. If you are freezing it, record the freeze date and mark “FREEZER.”
- Add the portion and one useful serving direction. Avoid crowded instructions that nobody will read.
- Place labels in a consistent location, such as the front-facing side or the top-right corner of the lid. Face refrigerator labels outward so older meals are easy to see.
- Review the refrigerator midweek. Prioritize older meals that remain within safe storage guidance, and discard food when its handling history is uncertain. Do not change the date to extend its apparent life.
Use labels alongside safe storage practices
USDA advises refrigerating perishable leftovers within two hours of cooking, or within one hour when the surrounding temperature is above 90°F. Dividing a large batch among smaller containers helps it cool faster. Most cooked leftovers can be refrigerated for three to four days and should be reheated to 165°F. USDA leftovers and food-safety guidance
FoodSafety.gov says refrigerators should stay at 40°F or below and freezers at 0°F or below. Food kept continuously frozen at 0°F or below remains safe indefinitely, although recommended freezer times concern quality. FoodSafety.gov cold-storage chart A label helps you track dates, but it cannot show whether the refrigerator stayed cold enough or the food was cooled promptly.
For microwave reheating, USDA recommends covering and rotating food for more even heating and checking it in multiple places with a food thermometer. Use only containers and covers identified as microwave-safe, and follow their venting instructions. If a label is not explicitly microwave-safe, remove it before heating.
Choose the simplest label that fits your routine
For a typical week of refrigerated lunches, start with removable handwritten labels. Choose an explicitly freezer-rated material for frozen batches and a dissolvable product when wash-off convenience is the priority. Consider custom printing when recurring meals, shared responsibilities, or higher volume make a consistent layout worthwhile.
Before buying, verify the exact product’s surface requirements, moisture resistance, freezer rating, writing compatibility, adhesive behavior, and washing instructions. Then keep the label itself simple: meal, date, fridge or freezer, portion, and one useful serving note.
References
- Leftovers and Food Safety | Food Safety and Inspection Service
- Removable Labels, 1/2" x 3/4", White, 6 Packs 45418 | Avery
- Freezer Safe Labels | Avery
- Avery Dissolvable Labels | Avery
- Custom Stickers | Fast & Free Shipping – CustomStickers.com
- FAQ – CustomStickers.com
- customstickers.com
- customstickers.com
- Cold Food Storage Chart | FoodSafety.gov